
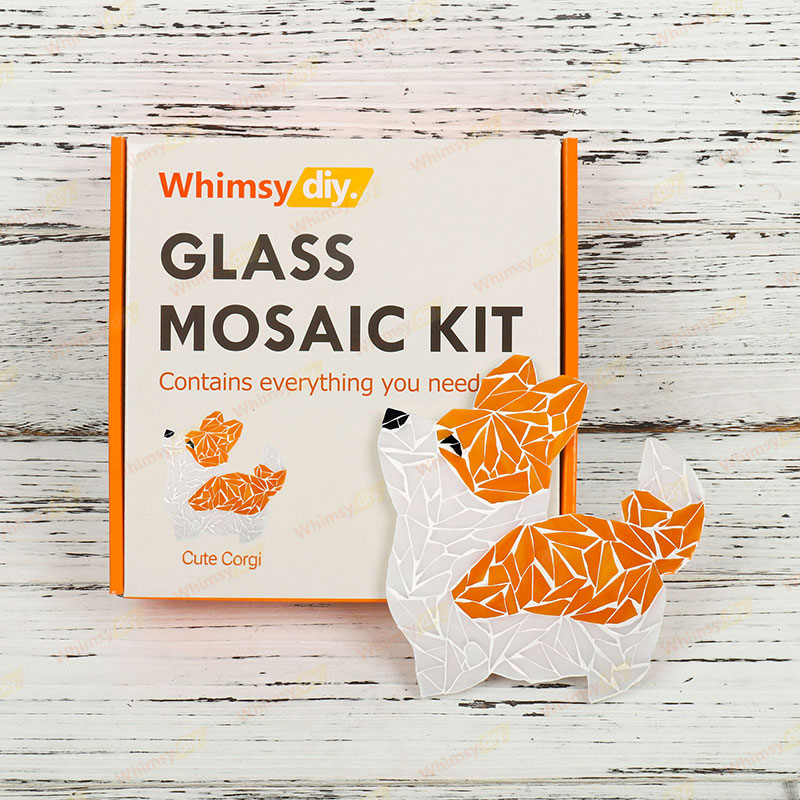
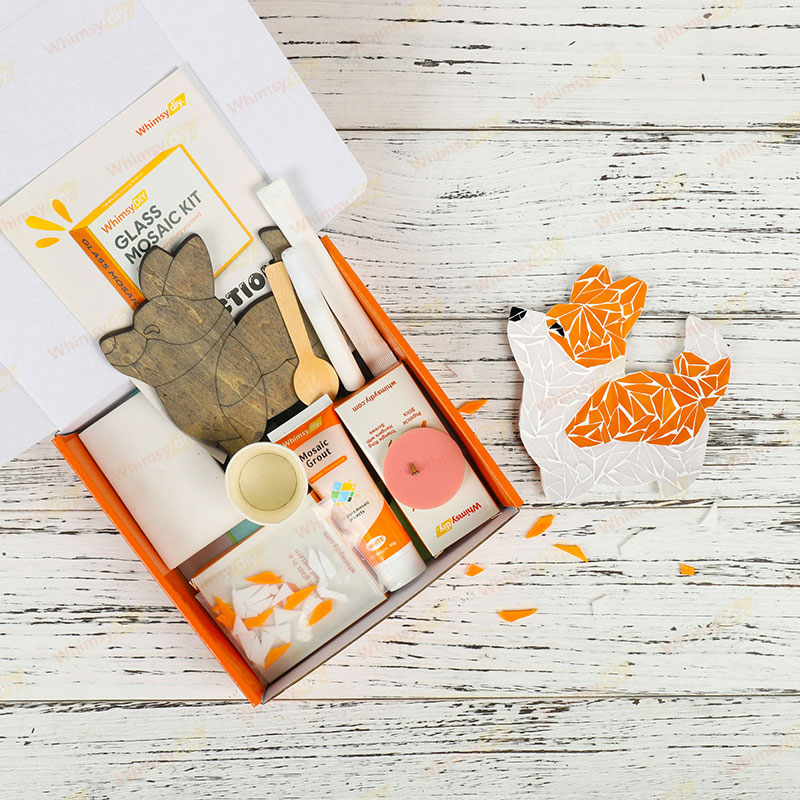
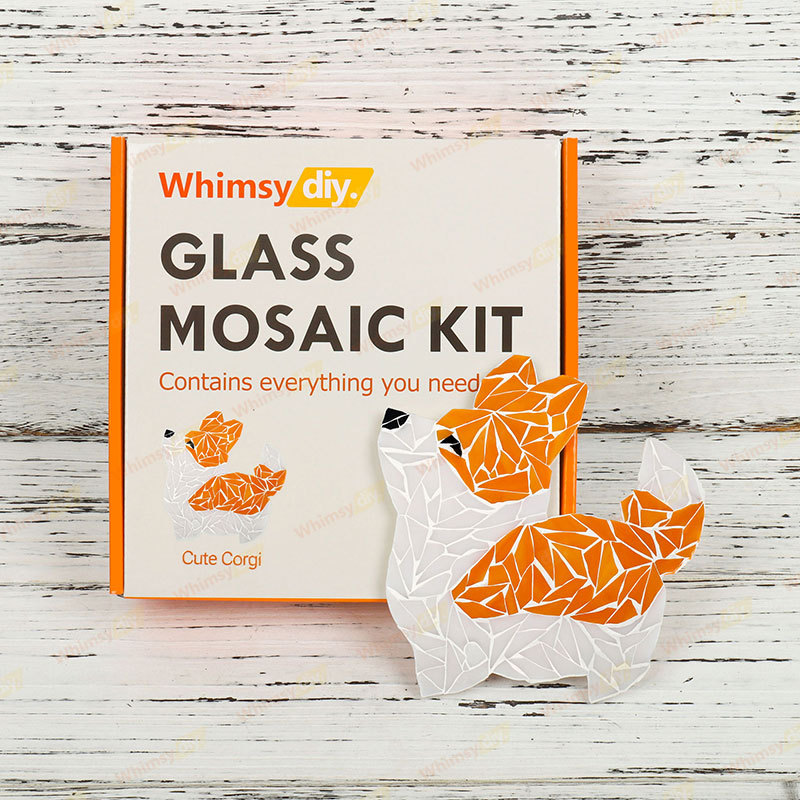
Whimsy DIY Cute Corgi Glass Mosaic Kit Puzzles
$63.00 CAD
Quantity


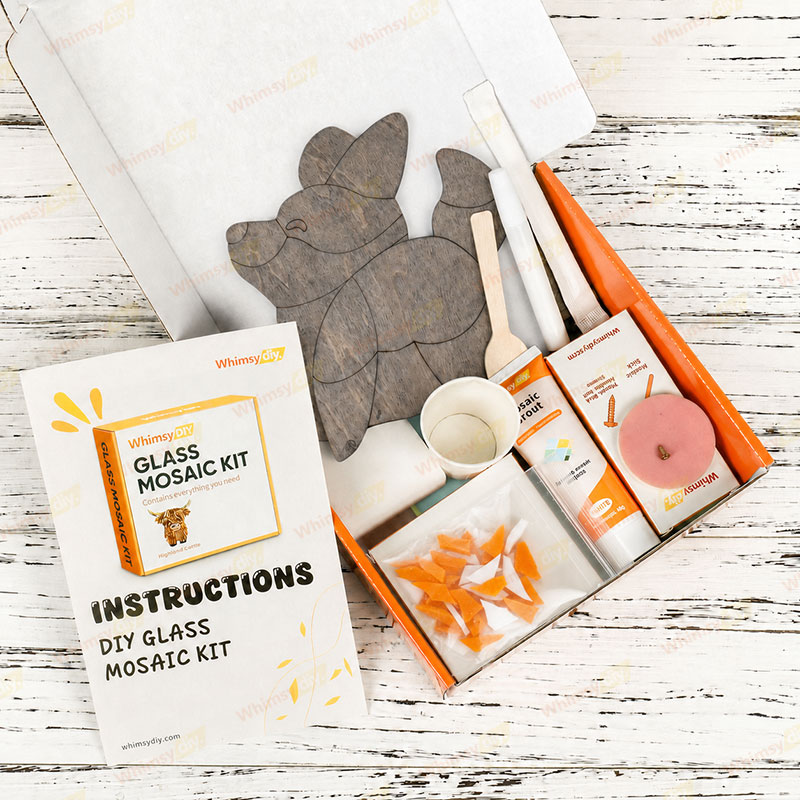
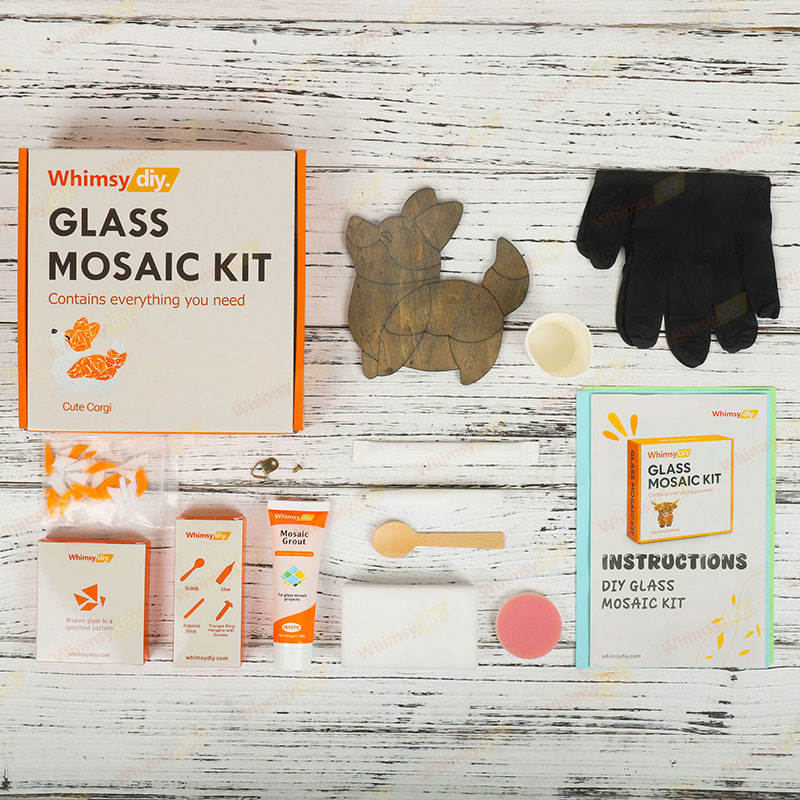
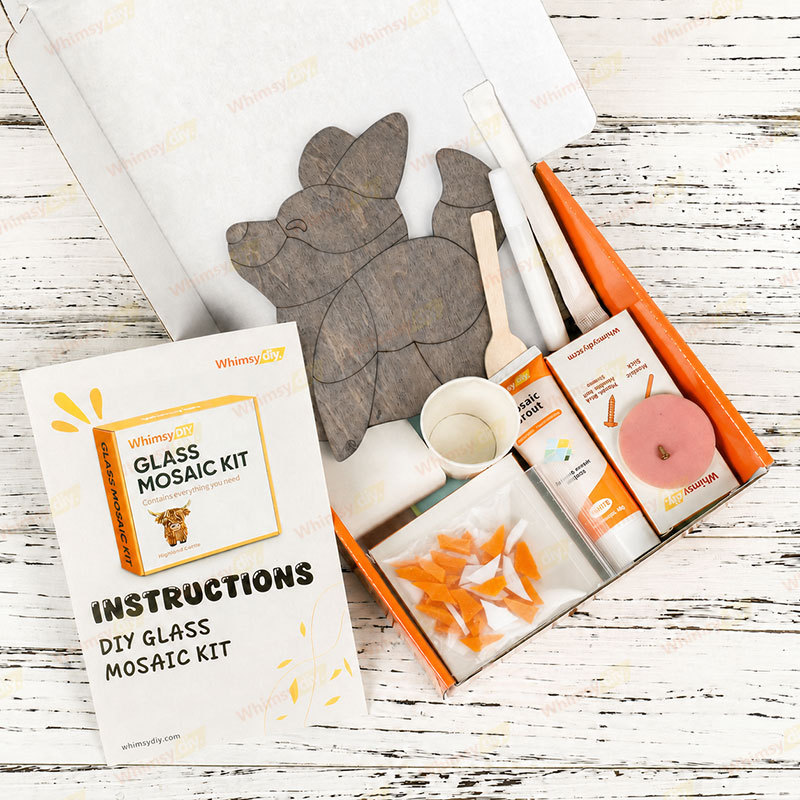
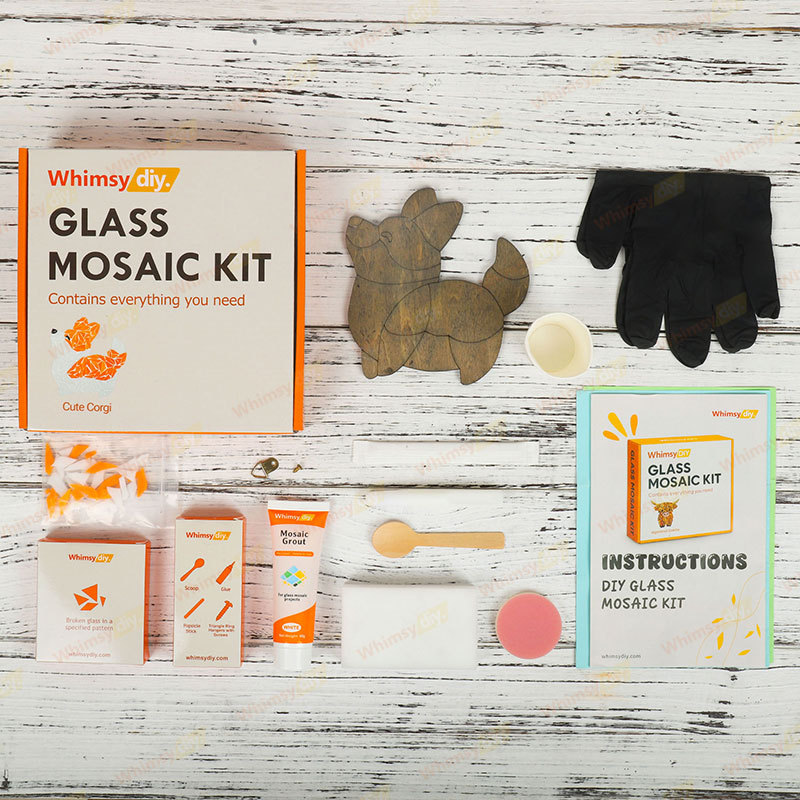
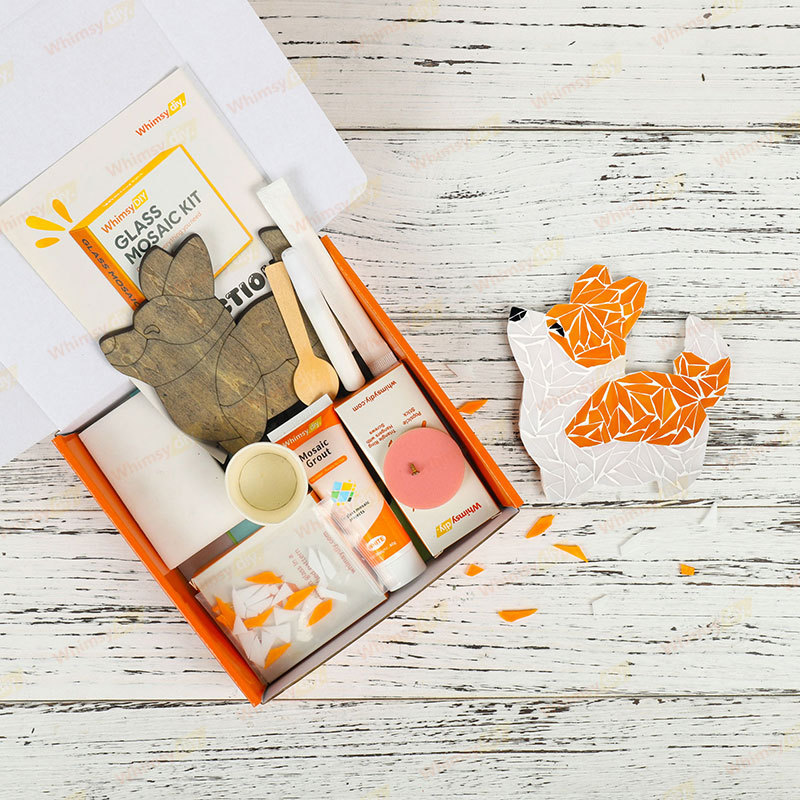
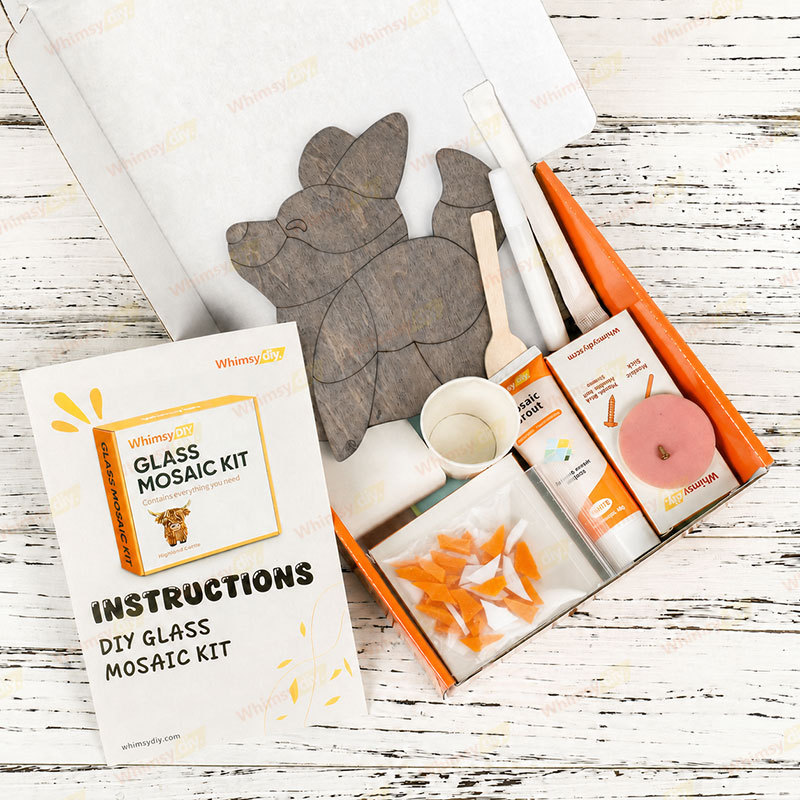
Everything necessary is provided – 15pcs
- Graphic step-by-step instructions x1
- Video tutorials x1
- Hand-cut glass tiles in a specified pattern x1
- Wooden base x1
- Mosaic glue x1
- Mosaic grout x1
- Protective paper for working x2
- Gloves x1
- Wooden Sticks x1
- Paper cup x1
- Wooden spoons x1
- Foam sponge x1
- Grinding sponge x1
- Hangers with screws x1
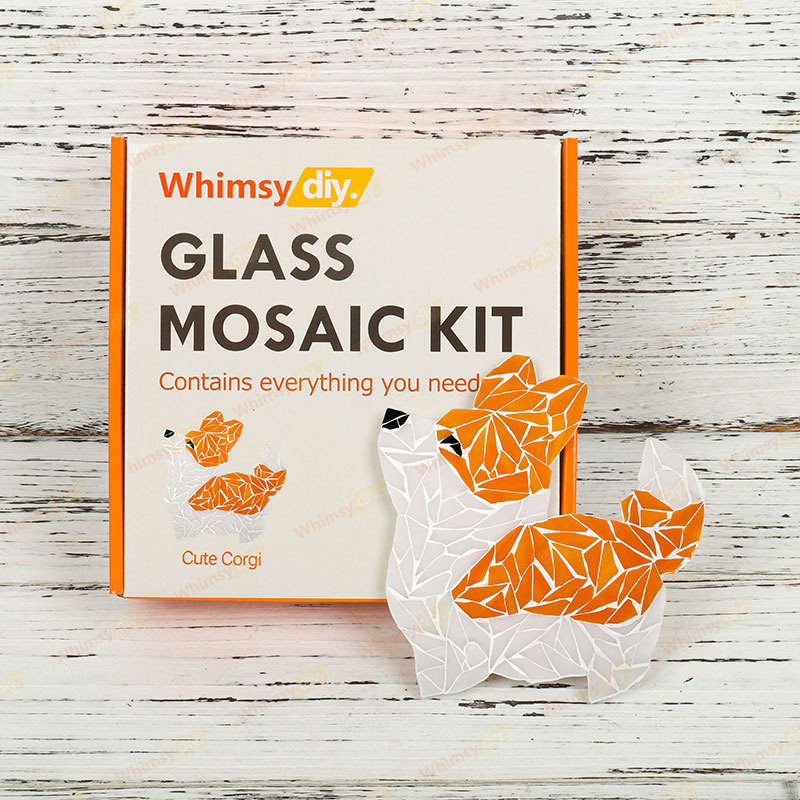

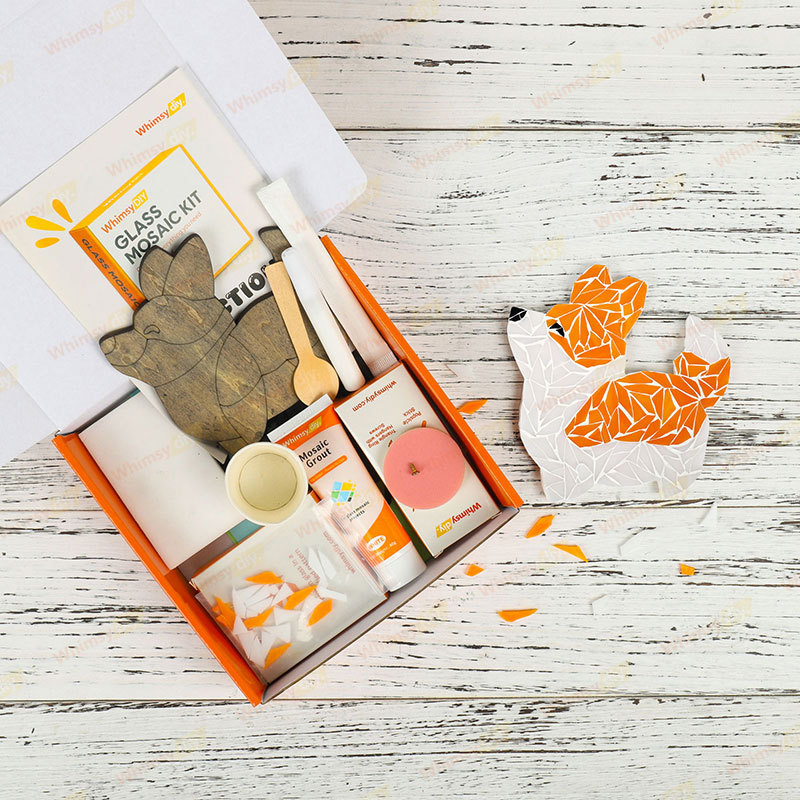
How do you do glass mosaic art?
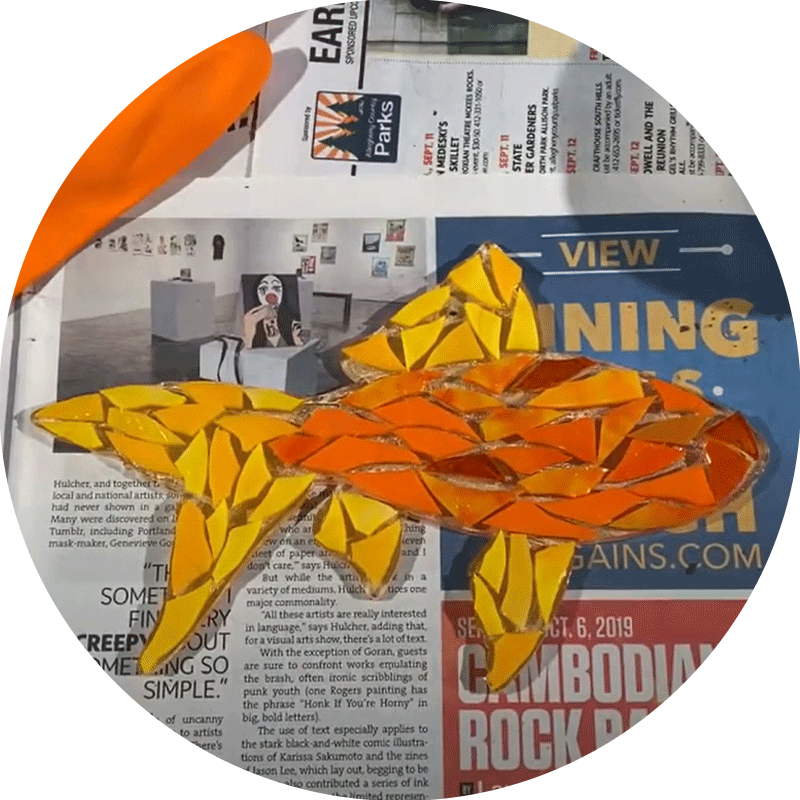
1. Apply adhesive
Apply some glue to the wooden backing and attach the glass pieces according to the patterned grain on the backing.
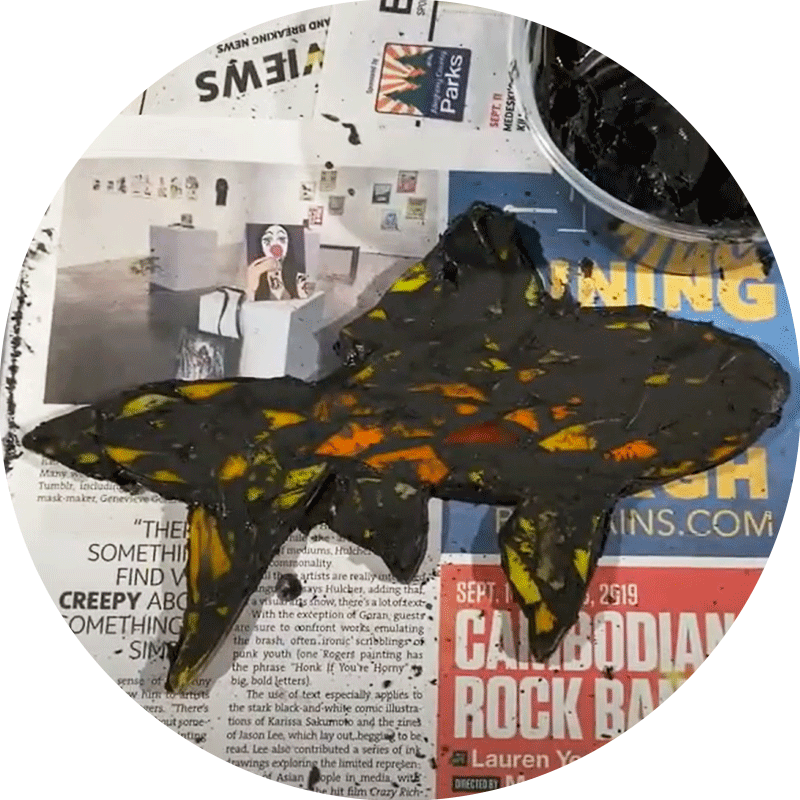
2. Grouting the mosaic
Once the grout is dry, use an abrasive sponge to gently wipe away any grout residue from the surface of the tile. Rub the tiles again with a foam sponge to make them shine.
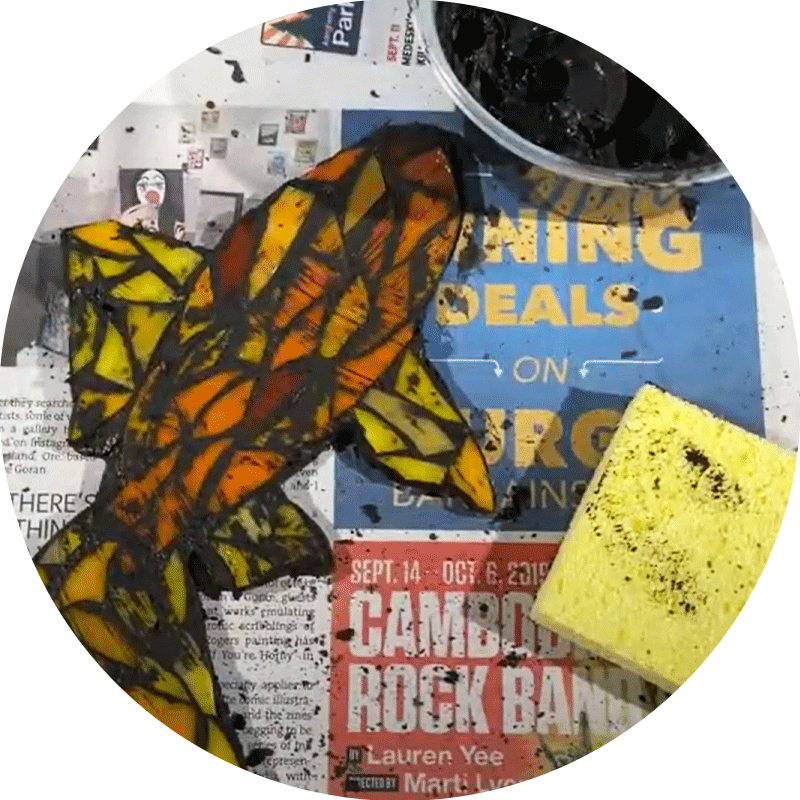
3. Cleaning and polishing
Once the grout is dry, use an abrasive sponge to gently wipe away any grout residue from the surface of the tile. Rub the tiles again with a foam sponge to make them shine.
1. Apply adhesive
Apply some glue to the wooden backing and attach the glass pieces according to the patterned grain on the backing.
2. Grouting the mosaic
Once the grout is dry, use an abrasive sponge to gently wipe away any grout residue from the surface of the tile. Rub the tiles again with a foam sponge to make them shine.
3. Cleaning and polishing
Once the grout is dry, use an abrasive sponge to gently wipe away any grout residue from the surface of the tile. Rub the tiles again with a foam sponge to make them shine.
1
/
3